Custom compression wear is not simply a tighter version of everyday clothing. Its value depends on the garment’s purpose, fit, fabric, and construction. A sleeve that twists at the elbow or leggings that pinch behind the knee can turn a promising purchase into an uncomfortable one. Small details matter.
To avoid presenting an invented statement as a real quotation, this guide uses an explicitly fictional, editorial composite: compression-fit specialist Evan Cole. His guiding line is: “Choose for the job, then check the fit in motion.” It is a practical principle, not a verified quotation from a real expert. The ten tips ahead will help you compare measurements, compression levels, materials, seams, customization options, and care instructions. They will also explain what to ask a supplier before placing an order. Take your time. A size chart is useful, but it cannot tell you how a garment feels when you bend, walk, or sit for hours. Needs also differ, and customization alone does not guarantee comfort or performance. When compression is intended for a medical condition, seek advice from a qualified healthcare professional. One final caution: do not assume the most compressive option is automatically the best. Fit should feel secure, not painful.
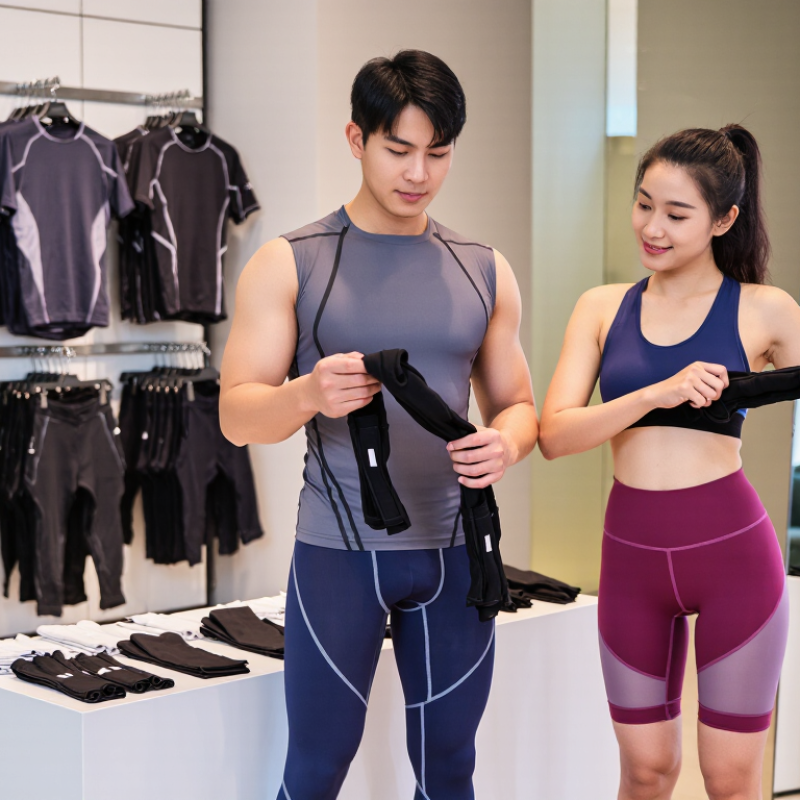
10 Tips for Buying Custom Compression Wear
Define Your Intended Use Before Choosing Medical or Athletic Compression
Start with the job the garment must do. Medical compression may support circulation or help manage swelling, while athletic wear is generally chosen for comfort during training or recovery. These are not interchangeable categories. A clinician can help determine whether medical compression is appropriate and what pressure and fit you need. Do not guess from a tight-feeling sample.
Evidence depends on the condition. A Cochrane review of 14 studies involving 1,391 people with venous leg ulcers found that compression probably improved healing compared with no compression. A separate Cochrane review examined 12 trials and 2,918 air travelers, finding fewer symptom-free deep-vein clots among stocking users. Those findings do not prove that any custom garment suits every wearer. Fit is personal.
For athletic use, focus on the activity, fabric comfort, and whether the garment stays in place during movement. Note where seams rub, whether cuffs dig in, and how your skin feels after a short trial. A snug fit is not automatically a better fit. Research on medical compression cannot establish performance benefits for sports clothing, so judge athletic claims cautiously. Measurements can change, too; that part is easy to overlook.
Custom compression wear should be selected by measured pressure, not by the word “custom.” RAL-GZ 387/1 defines four ankle-pressure classes:
These ranges are class bands, not interchangeable product labels. Fit comes first.
A move from 18–21 to 23–32 mmHg is a meaningful increase, not a small upgrade. Higher pressure is not automatically better; ask a qualified clinician which class suits your needs. The European Society for Vascular Surgery’s 2022 chronic venous disease guideline also treats compression as a clinical choice, with pressure and garment type matched to the condition.
For a custom order, check which measurements are required: ankle, calf, and leg length are common. Ask when to take them, since swelling can change during the day. Compare the finished garment’s stated class with the prescription, and confirm its sizing method follows the cited RAL standard. Measuring carefully still has limits. If one measurement seems inconsistent, recheck it before ordering rather than guessing.
When ordering custom compression wear, measure at the exact sites listed by the manufacturer. A waist measurement may mean the narrowest point, the navel, or another marked location. Those points are not interchangeable. Follow the sizing diagram or written instructions, even if a familiar measuring method suggests otherwise.
Use a flexible tape on bare skin or the clothing specified in the instructions. Stand naturally, with your weight balanced and muscles relaxed. Keep the tape level around your body, snug but not digging into the skin. Small details matter. Check that the tape has not twisted at your back, and read the number without pulling it tighter. If the instructions ask for several circumferences, measure each one separately and label it clearly. A quick note such as “upper thigh, right side” can prevent a mix-up later.
Measure twice. If the readings differ, take a third measurement rather than choosing the number you prefer. I have found that posture and breathing can shift a reading slightly; that can be frustrating. Not too tight. Do not round measurements unless the maker specifically asks you to. If a measurement site is unclear, ask the fitting team before submitting your order. A small uncertainty is worth resolving, since compression depends on accurate sizing, not guesswork.
Before approving custom compression wear, request fabric stretch-test results under ISO 20932-1:2018. This standard describes strip tests for measuring fabric elasticity. It helps compare how samples stretch and recover under controlled conditions. It does not measure garment pressure on the body. That distinction matters: stretch figures alone cannot prove a garment will deliver a particular compression level.
Ask for results tied to the fabric batch you will actually buy. The report should name the material, test direction, extension, load, and recovery conditions. Request results in both lengthwise and crosswise directions; a fabric may behave differently across the grain. Textile Exchange’s Materials Market Report 2024 estimates that global fiber production reached 124 million tonnes in 2023, with polyester making up 57%. That scale underscores how varied textile inputs can be. A fiber label is not a performance result.
Compare suppliers using the same test settings and ask how many specimens were tested. A single figure can hide variation. For example, a waistband that rebounds well may still feel loose after repeated wear. ISO results are useful, but they are not a complete fit assessment. Pair them with garment trials, wash checks, and clear tolerances for production. Some suppliers may not provide every detail. Record what is missing, and treat it as a question—not proof of poor quality.
Custom compression wear should feel secure without pinching, rolling, or restricting ordinary movement. Ask how your measurements are used to determine the garment’s fit, rather than assuming “custom” guarantees a perfect result. Measure the body areas specified in the maker’s instructions, keeping the tape level and snug but not tight. Record whether measurements should be taken standing, seated, or at a particular time of day. Small details matter. A tape that slips over a curve can change the result, and measuring over thick clothing may add unwanted room. If instructions are unclear, ask for clarification before ordering.
Seam placement deserves the same attention as size. Ask where seams will sit near joints, skin folds, and areas that bend repeatedly. If possible, review a garment diagram and check how the seams may feel when sitting, walking, or reaching. A seam that seems harmless while standing may rub during a full day of movement. Don’t guess. Confirm whether re-measurement is available after a fitting sample, a measurement error, or a noticeable body change. Check the timing, any alteration fees, and whether a revised garment can be made. I’d be cautious about treating one measurement session as final; bodies and measuring conditions vary. For medically prescribed compression, confirm fit requirements with your clinician.
These European RAL-GZ 387 reference ranges show pressure at the ankle: Class I, 18–21 mmHg; Class II, 23–32 mmHg; and Class III, 34–46 mmHg. Compression class systems vary by region, and these ranges are not a personal prescription. When ordering custom wear, confirm how measurements are taken, check that seams will sit comfortably, and ask whether re-measurement or fit adjustments are available.
It measures how fabric stretches and recovers in strip tests. It does not measure pressure on the body. Not enough alone.
Check the material, fabric batch, test direction, extension, load, and recovery conditions. Ask for lengthwise and crosswise results.
One result can hide variation. A few specimens give a clearer picture, though they still cannot guarantee consistent production.
No. Stretch figures describe fabric behavior, not garment pressure or personal fit. Pair them with garment trials and wash checks.
Follow the maker’s instructions. Keep the tape level and snug, not tight. Thick clothing can add unwanted room.
Seams near joints or skin folds may rub during movement. Review a garment diagram and consider sitting, walking, and reaching.
Ask whether re-measurement is available after a fitting sample or measurement error. Check timing and alteration fees. I wouldn’t assume it’s included.
Ask for clarification and record what is unavailable. Missing details are questions, not proof of poor quality. For prescribed compression, confirm fit requirements with your clinician.
Choosing custom compression wear starts with a clear purpose: medical support and athletic use may call for different garment features and pressure levels. Compare the listed RAL-GZ 387 classes—18–21, 23–32, 34–46, and at least 49 mmHg—and consider which range aligns with your intended use. For medical needs, discuss appropriate options with a qualified healthcare professional rather than choosing a pressure level based on numbers alone.
Accurate measurements are essential for a dependable fit. Take circumference measurements at the exact body sites specified by the garment maker, and ask how the fabric’s stretch performance is evaluated, including whether test results under ISO 20932-1:2018 are available. Before ordering, confirm how the garment is customized, where seams will sit, and whether re-measurement or fit adjustments are possible. These checks can help you compare options and select a garment designed to suit your measurements and intended activities.